|
||||||||||||||||
| Practice session |
|
|
|
|
|
|
Exercises
|
|
||||||||
| The creation of a double puzzle from an image. |
|
| The objective of this session is to create one of the easiest activities in JClic: a double usage puzzle based on an image. |
|
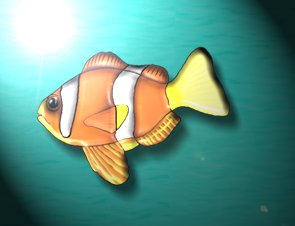
| To do this activity you will need the file fish jpg, from the course material. | |
| Start up JClic author, go to the menu File | New Project... and, in Project Name, write module2 (without a space). You willl see in File Name the same name will appear; do not change this. In File to leave project, the programme will have put C:\Programme Files\JClic\projects\module2. Do not change anything. Accept with OK. Go to the menu Media Library and click on the button Select the file fish.jpg, which is the image you will use for the puzzleand which is found in the file C:\d73\files. Accept with Open. The image will appear in the gallery. Now go to the menu Activities and click on the button A window will open where you will be asked for the name and type of the new activity. In the list of the type of activities select double puzzle. In the box Name of activity write puzzle1. Accept with OK.
Go to the menu Panel, the last one of the lower menus. This menu shows the content of the panel; from here you will construct the puzzle.
Click on the button Image Select the image fish.jpg, which at the moment is the only one there, and accept with OK.
Now indicate the number of rows and columns that you want the puzzle to have. You can do this by changing the numbers in the boxes with the buttons +/- or by selecting the number and writing it directly.
In this case, indicate 3 rows and 4 columns. The size of the panel and the boxes will automatically adjust to the chosen image because you are working with a defined image in the panel. If you change the size, the result may deform the image, so leave it as it is. To change it you use the width and height boxes which are found at the bottom of the number of lines and columns and that work in the same way. The next step is to select the shape you want the pieces in the puzzle to have. Fold down the menu Selection of type
shape generator in the panel, by clicking on the arrow to the right.
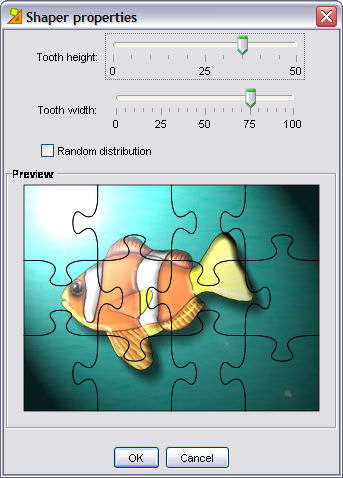
Try selecting the different types to see the results. (JClic has 5 posssibilities). Finally select the option Jigsaw with curved unions. Click on the button Modify the height and width of the fitting edges to do so, move the height and width arrows to the right or left and observe in Preview how they change. Once you have reached the shape you want confirm with OK.
Now write messages for the activity. Go to the menu Messages and, in the same way as you did in practice session 6 module 1, write a message which could be: join the pieces to make the puzzle and a final one which will appear when the puzzle is done correctly: Well done! Modify the properties of the messages (type of letter, colour and size of the letters, shadows, background) so as they are similar to the ones lower down. Now you only have to changes the colours of the principal and game windows the same as you did in practice session 5 module 1. Try out the activity in the test window using this button The activity should look like this:
Close the window and save the changes in the project. |
|
| |
|

